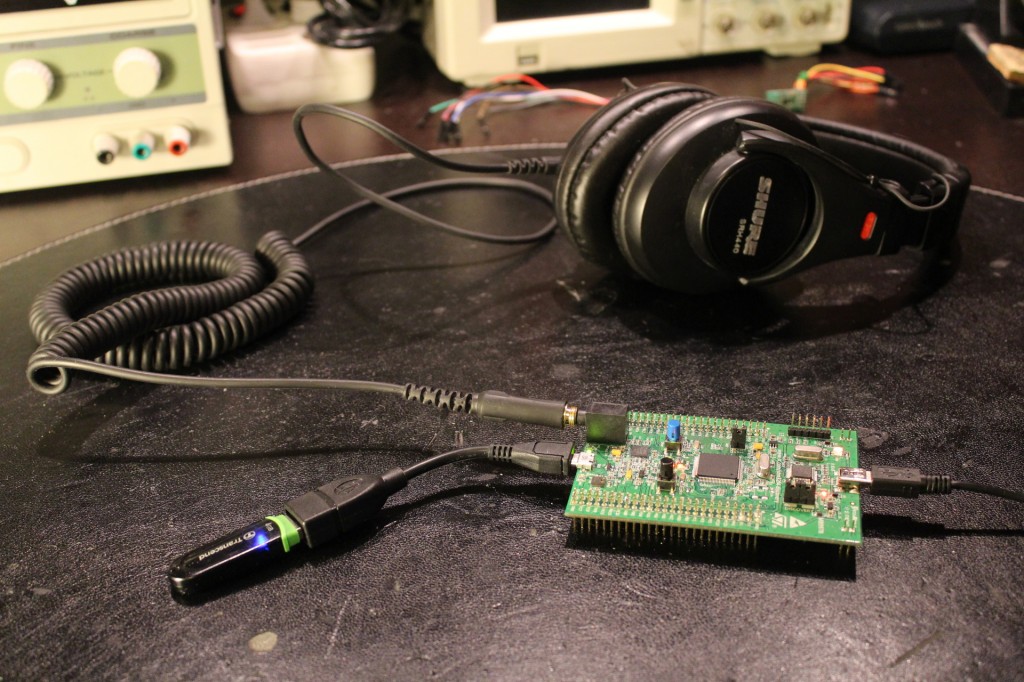
Update: I also have a project that plays mp3 from an USB memory stick with a fat32 file system here.
About
I have written a simple program for the STM32F4 Discovery board that plays a short mp3 file from flash memory. For the decoding, the fixed point version of the Helix mp3 decoder is used. The audio output driver is the one used for the Peridiummmm demo, modified to use the peripheral library provided by ST.
The audio driver has two DMA buffers and a callback function that asks a user-provided function to fill one buffer with audio data when it runs out, while the other DMA buffer is streamed to the audio CODEC. This user function decodes one MP3 frame and forwards the raw audio samples to the audio driver. As this is interrupt driven, the main function can still be used for other things.
How to build and use it
If you don’t have the necessary toolchain to build and upload programs to the STM32F4, you can have a look at this post. Otherwise, the following steps should be enough to test it:
- Download the complete source code and makefiles here.
- Unpack the program and run make from its root directory. The binary file that can be uploaded should appear in the build directory.
- Upload the program to the STM32F4 discovery (again, this post explains how) and plug in headphones or speakers to the audio jack.
- You should hear some music! You can change the volume between two discrete steps by pressing the user button on the discovery board.
That’s it! It should be quite easy to modify the code to play mp3s from, for instance, an external SD card.
Use your own MP3 file
The the mp3_data[] in src/mp3_data.c is just the raw data of a normal mp3 file. I used this perl script to convert the mp3 file to a c array. After you unzip the perl script, you can use it like this:
chmod +x bin2hex
./bin2hex MP3FILE.mp3 1 > mp3_data.c |
chmod +x bin2hex
./bin2hex MP3FILE.mp3 1 > mp3_data.c
Where MP3FILE.mp3 should be replaced with the mp3 file you want to convert.
Remember that the mp3 file has to be small enough to fit on flash memory of the STM32F4. You can use Audacity to trim/re-encode mp3 files. You should also clear the ID3 tag if possible, as this saves space. As it is now, stereo files with 44.1 KHz sample rate (and any bitrate, even VBR) can be played. When the number of channels or the sample rate differs, the playback speed will become incorrect. This can of course be fixed easily, but I wanted to keep this example as simple as possible.
On Ubuntu, you can install audacity with:
sudo apt-get install audacity |
sudo apt-get install audacity


